Scrum with LUCKiwi: Organize Your Product Backlog Easily
Is your project's to-do list a chaotic mix of sticky notes, random spreadsheet rows, and urgent emails? This common mistake is a direct cause of project stress and stalled progress. With Scrum with LUCKiwi: Organize Your Product Backlog Easily, you can turn that scattered work into a single view aligned to the scrum process within the framework scrum. What if you could transform that chaos into a single, organized list that tells your team exactly what to do next?
This master list is your project's single source of truth, and creating it is easier than you think. By asking two powerful questions for each item—how much value does it create, and how much effort will it take?—you can turn an overwhelming pile of tasks into an actionable roadmap. It's practical for management scrum across any equipe scrum.
What Is a Product Backlog?
If project ideas are scattered across notebooks and spreadsheets, think of a Product Backlog as the master recipe book for the entire meal. It takes all those random ingredients—features, fixes, and ideas—and puts them in one organized place.
Unlike a static to-do list, the Product Backlog is a dynamic, ordered guide. It contains every task, and crucially, the most important work always stays at the top. This isn't just a list of what to do eventually; it shows what to do next, ending the "what should we work on?" guesswork. That priority order feeds directly into scrum sprint planning before each scrum sprint.
From Vague Tasks to Clear Value
A typical to-do item like "Add login button" doesn't say who it's for or why they need it. To make your backlog powerful, each item should tell a small story about the value it delivers.
The easiest way is with a simple template: "As a [type of person], I want [to do something], so that [I get a benefit]." Using this, our vague task becomes much clearer: "As a returning customer, I want to log in easily, so that I can see my past orders."
This shift forces you to think about the "why" behind every piece of work, ensuring you're building what people actually need, not just adding features. Once your list is full of these value-focused items, you're ready to decide what to do first. This clarity also pays off during grooming scrum and sprint scrum conversations, making sprint planning scrum faster for the whole team.
How to Prioritize Your Backlog: The Value vs. Effort Method
Now that you have a list of clear, valuable items, where do you begin? Picking tasks at random or doing what seems easiest leads to wasted time. A great backlog isn't just about what's on the list; it's about the order of the list.
To prioritize effectively, ask two questions for each item: "How much value will this bring?" (High, Medium, or Low) and "How much effort will it take?" (High, Medium, or Low). A quick, honest assessment is all you need.
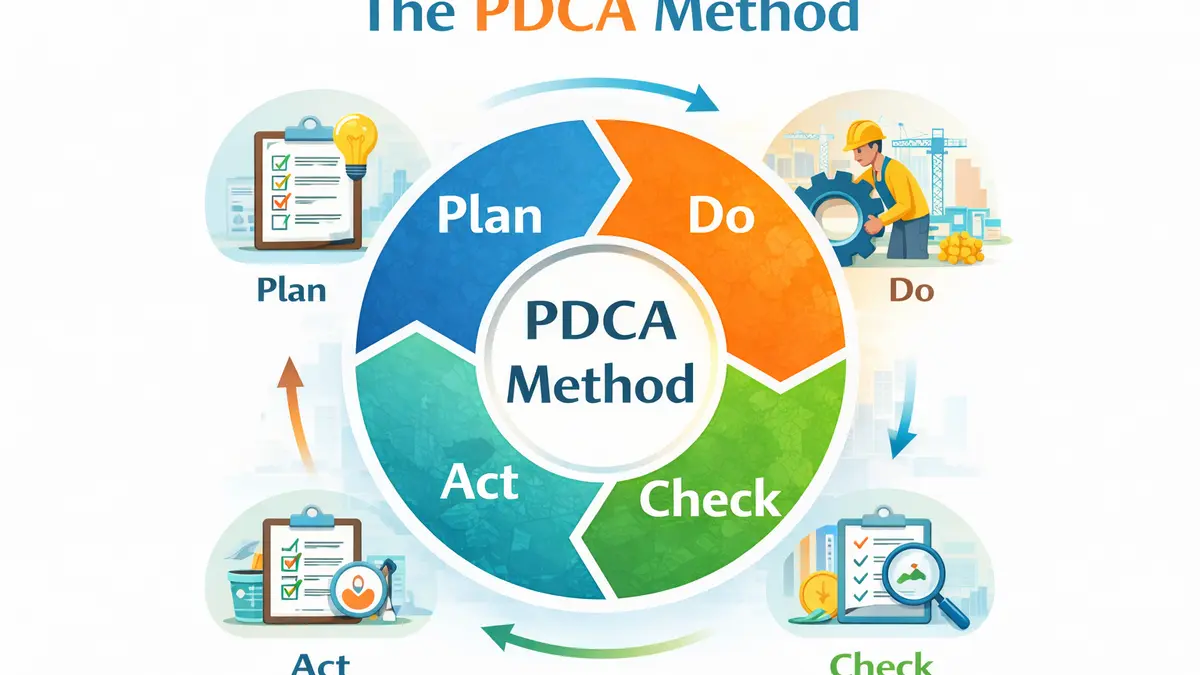
Your top priorities are the items that are High Value but Low Effort. These are your "quick wins" that build immediate momentum. As the grid below shows, this method also helps you identify big projects (High Value, High Effort) and spot the "thankless tasks" (Low Value, High Effort) to avoid. This makes scrum sprint planning smoother; during sprint planning scrum, teams can confidently select the highest-value work first.
[Image: A simple 2x2 grid showing four quadrants. Top-left: "Quick Wins (High Value, Low Effort)". Top-right: "Big Projects (High Value, High Effort)". Bottom-left: "Fill-ins (Low Value, Low Effort)". Bottom-right: "Thankless Tasks (Low Value, High Effort)"]
This simple sorting method transforms your list into a strategic roadmap, but sorting items in a spreadsheet can get messy. This is where building your backlog visually makes all the difference.
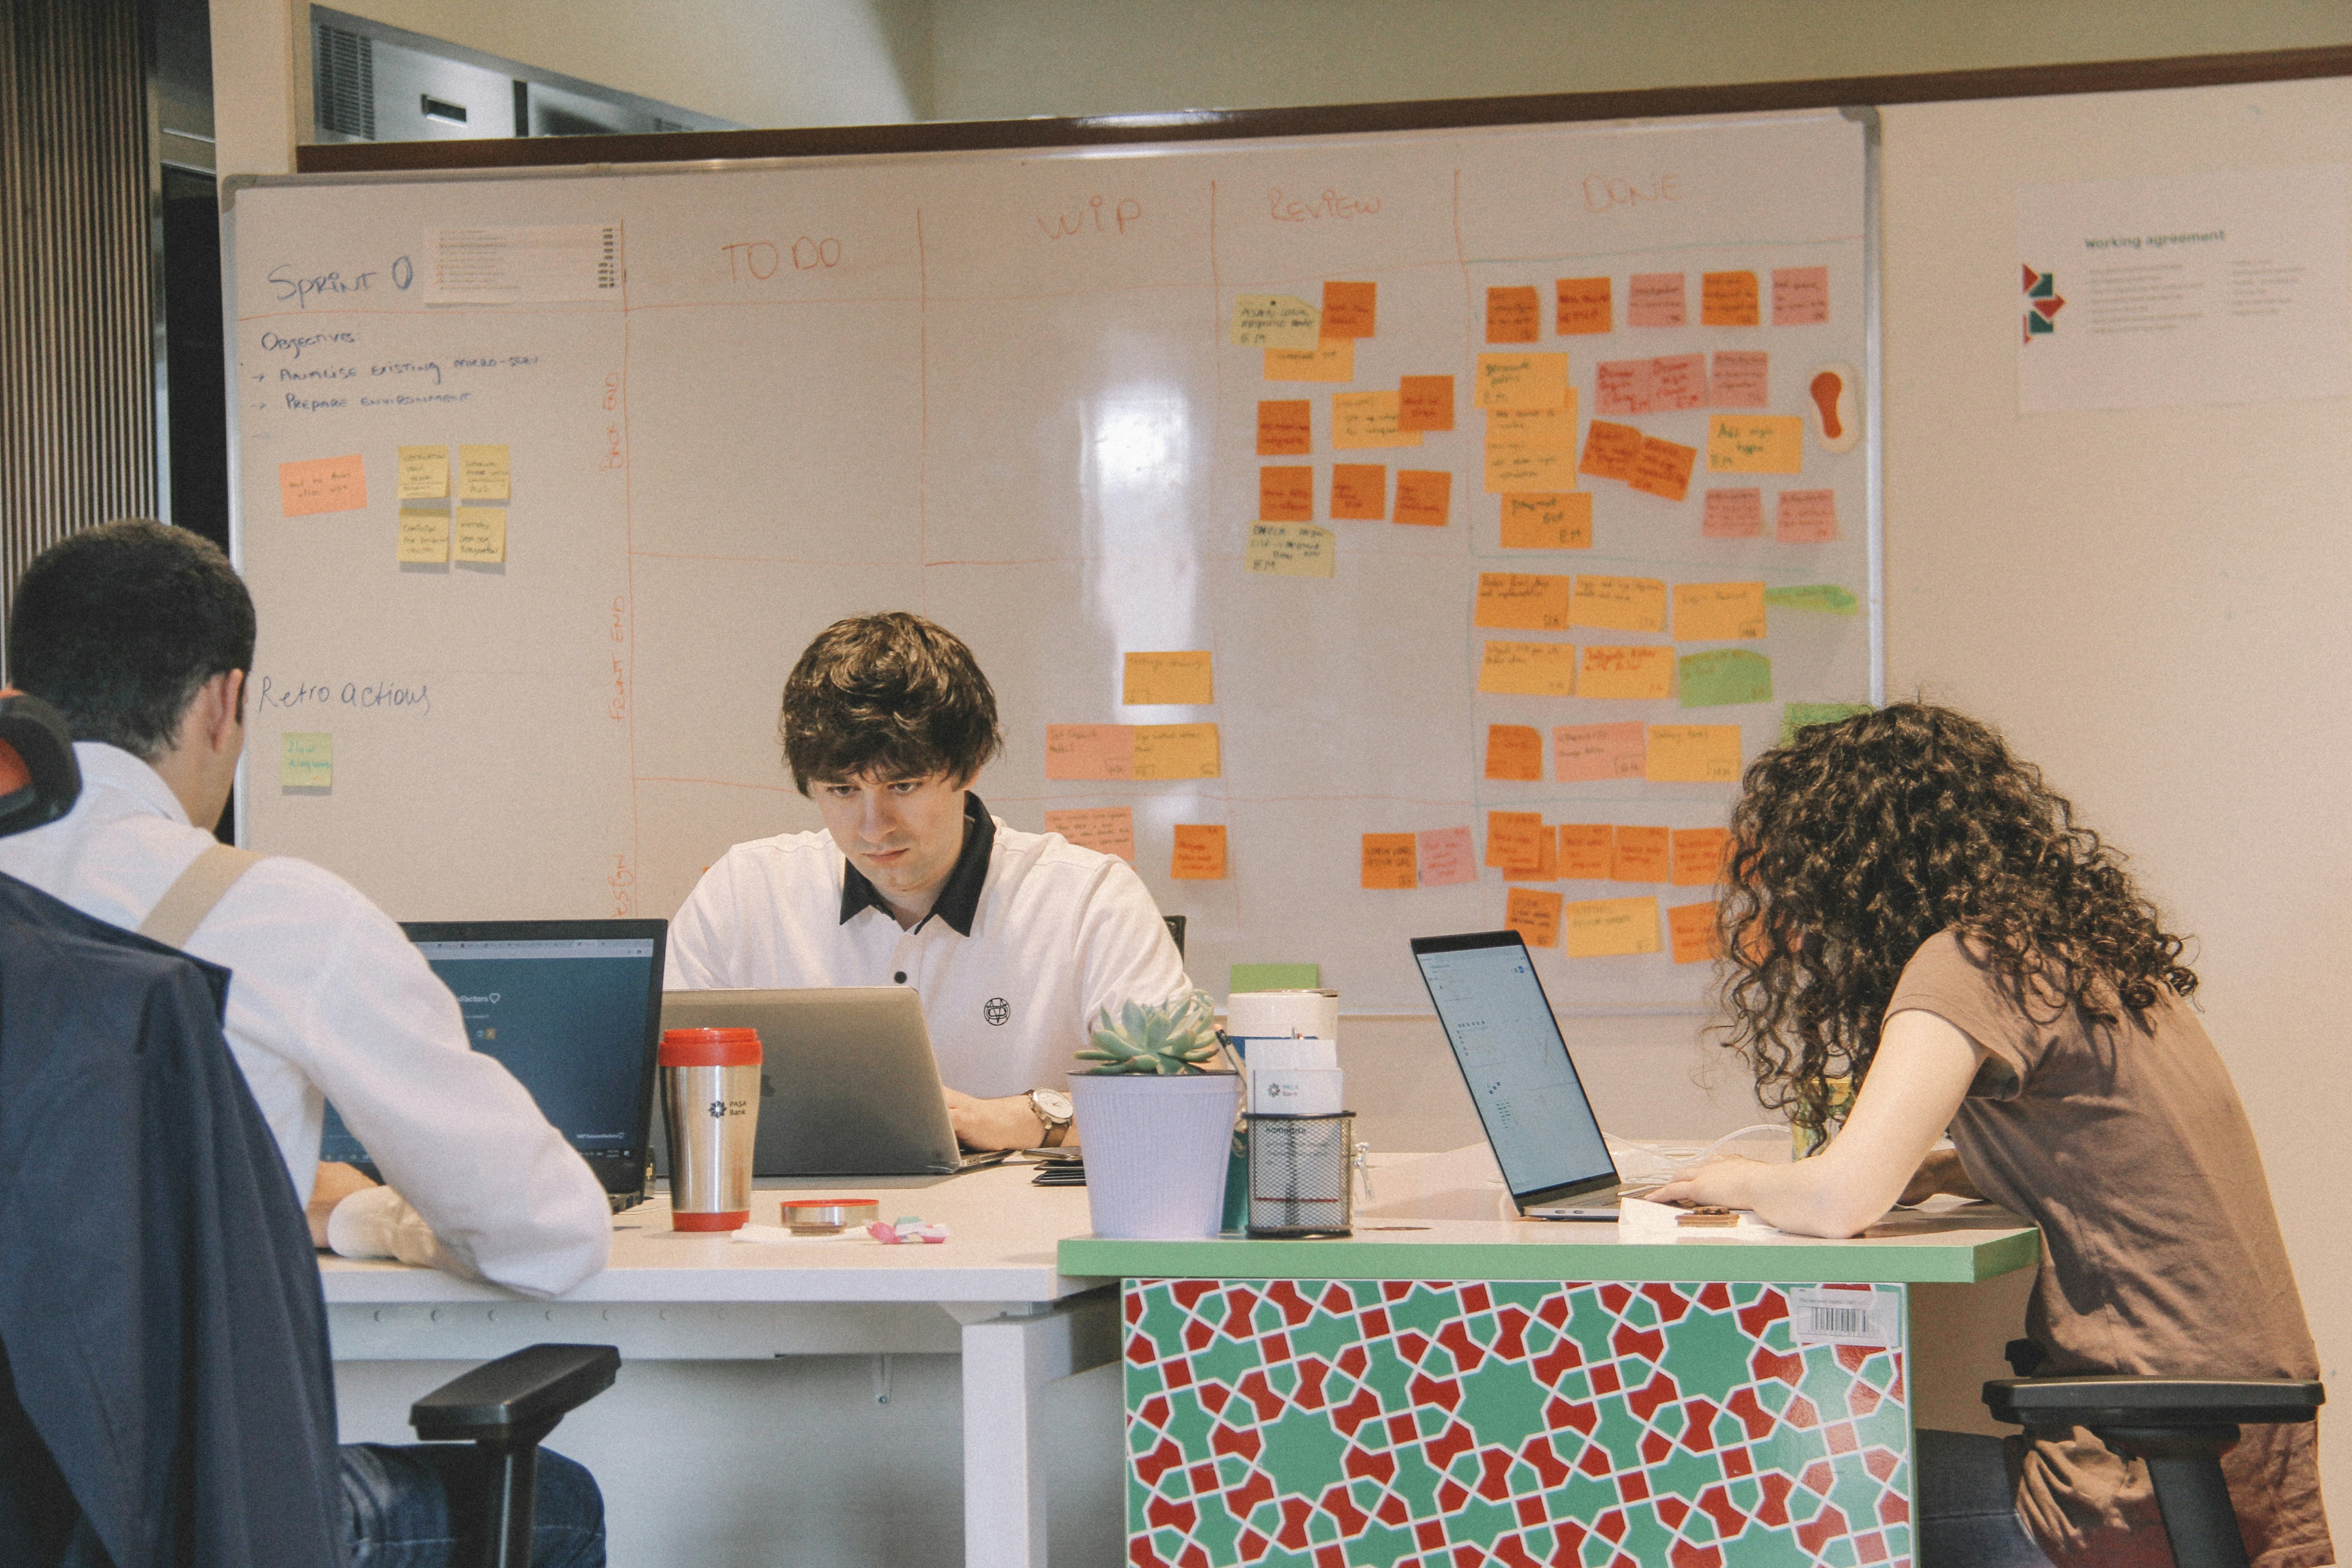
How to Organize Your Backlog Visually with LUCKiwi
Wrestling with a clunky spreadsheet is no fun. Tools like LUCKiwi make backlog management simple by turning each work item into a digital"card." This transforms your backlog from an abstract document into a tangible, visual planning board—excellent as your scrum board (scrum tableau or tableau scrum) for software scrum agile and even agil scrum teams.
Remember those "quick wins"? With a visual tool, acting on that insight is as simple as clicking and dragging. You can physically move the high-value, low-effort cards straight to the top of your backlog. What took minutes of cutting and pasting in a spreadsheet now takes seconds.
[Image: A clean screenshot of the LUCKiwi interface. Several cards for a bakery website project are visible, with one card titled "As a customer, I want to see weekly specials..." being dragged to the top of the backlog column.]
A visual backlog isn't just neater; it's a source of confidence that eliminates guesswork. This powerful simplicity is at the heart of making scrum with LUCKiwi so effective. It also supports scrum development—from early discovery through scrum dev and delivery—across your entire framework.
Your scrum master helps the team keep priorities clear and facilitates discussion. Whether you refer to the position as the scrum master role, role scrum master, rôle scrum master, scrum master rôle, or speak of the role du scrum master, the core scrum master responsibilities remain the same. In larger setups with multiple teams, a scrum master of scrum masters may synchronize work (sometimes colloquially shortened to scrum master scrum, or even "scrum scrum"). If you need quick definitions, see scrum def and scrum master def. For newcomers, formation scrum and certification scrum can accelerate adoption and align everyone on the framework scrum and scrum process.
3 Common Product Backlog Mistakes (And How to Dodge Them)
An organized backlog is a great start, but it can get messy again without upkeep. To keep your project on track, it's crucial to avoid a few simple habits that can quietly derail your progress.
Watch out for these three slip-ups:
The Junk Drawer: The backlog becomes a dumping ground for every idea, making it impossible to find what's important.
Simple Fix: Review your list monthly. If an item is no longer relevant, be ruthless and delete it.
The Solo Mission: You create the list by yourself without checking if the priorities make sense to anyone else.
Simple Fix: Ask a colleague or potential customer, "Does this order make sense to you?"
The "Boil the Ocean" Task: An item is so huge and vague (e.g.,"Build new website") that you don't know where to start.
Simple Fix: If a task feels overwhelming, break it into smaller steps. "Design homepage" is much easier to tackle than "Build new website."
Start Your Organized Project Today
That tangled list of ideas no longer needs to be a source of stress. The secret to calm, focused progress isn't working harder—it's working smarter with a single, prioritized plan.
Ready to feel that control? Start here:
Brain Dump: Write down every single task for your project in one place.
Reframe & Sort: Rewrite your top 5–10 tasks using the value-focused template and sort them by Value vs. Effort.
Visualize: Put your sorted list into a tool like LUCKiwi to see your clear path forward, then use it as your scrum board during scrum sprint planning and throughout the scrum process.